Playlist Migration Made Easy: Transfer Music Between Streaming Services Without Losing Tracks

Are you switching music streaming services but dreading the thought of manually recreating all your carefully curated playlists? Whether you’re moving from Spotify to Apple Music, Apple Music to YouTube Music, or between any other popular streaming platforms, transferring your playlists doesn’t have to be a tedious process. This guide will show you multiple ways to preserve your music collections when switching between services, saving you hours of manual work and ensuring you don’t lose the playlists you’ve spent years perfecting.
Free Solutions: Transfer Playlists Without Spending a Dime
1. Playlistor.io – The Simple Web-Based Converter
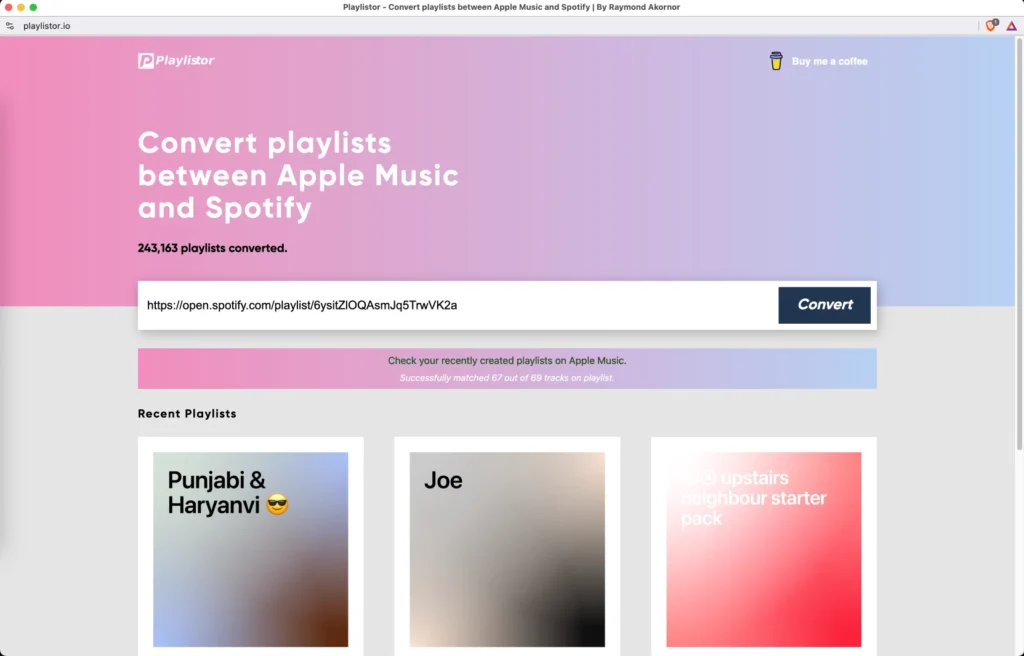
Playlistor.io offers a straightforward, no-cost solution for converting playlists between major streaming services.
- Visit Playlistor.io in your web browser
- Select your source platform (where your playlist currently exists)
- Paste the URL of the playlist you want to transfer
- Choose your destination platform
- Click “Convert” and follow the on-screen instructions to complete the transfer
- Log into your destination service when prompted to save the transferred playlist
Pro Tip: Playlistor works best for individual playlists rather than bulk transfers. For large collections, you’ll need to repeat this process for each playlist.
2. Soundiiz – Free Tier for Basic Transfers
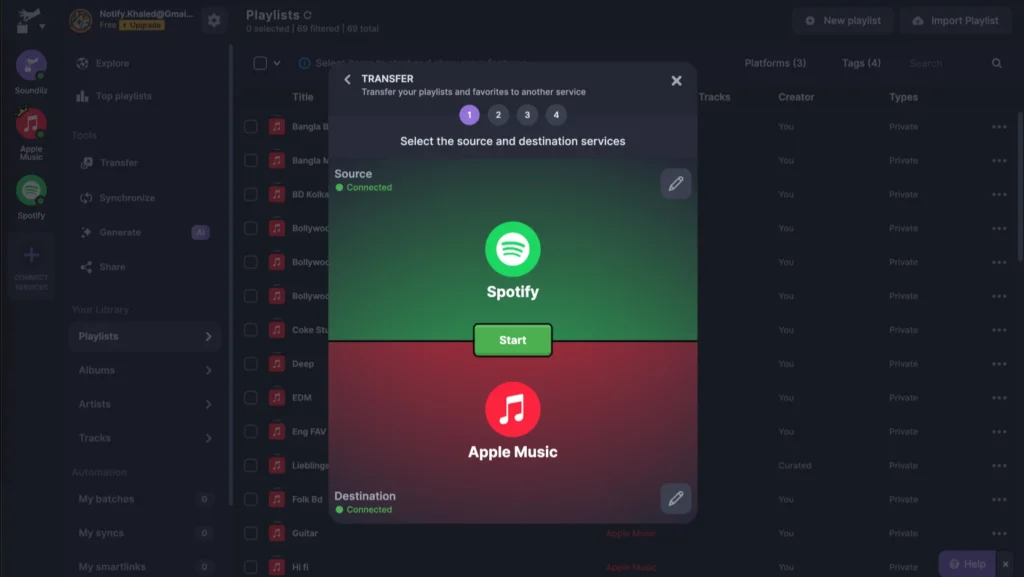
Soundiiz offers both free and premium options, with the free tier allowing for basic playlist transfers.
- Go to Soundiiz.com and create a free account
- Connect both your source and destination music services
- Click “Transfer” and select “Playlist” from the options
- Choose your source platform and select the playlist you want to transfer
- Select your destination platform
- Review the transfer details and click “Confirm” to initiate the transfer
Limitation: The free version only allows transferring one playlist at a time and has some restrictions on playlist size.
3. Playlists.cloud – Another Free Alternative
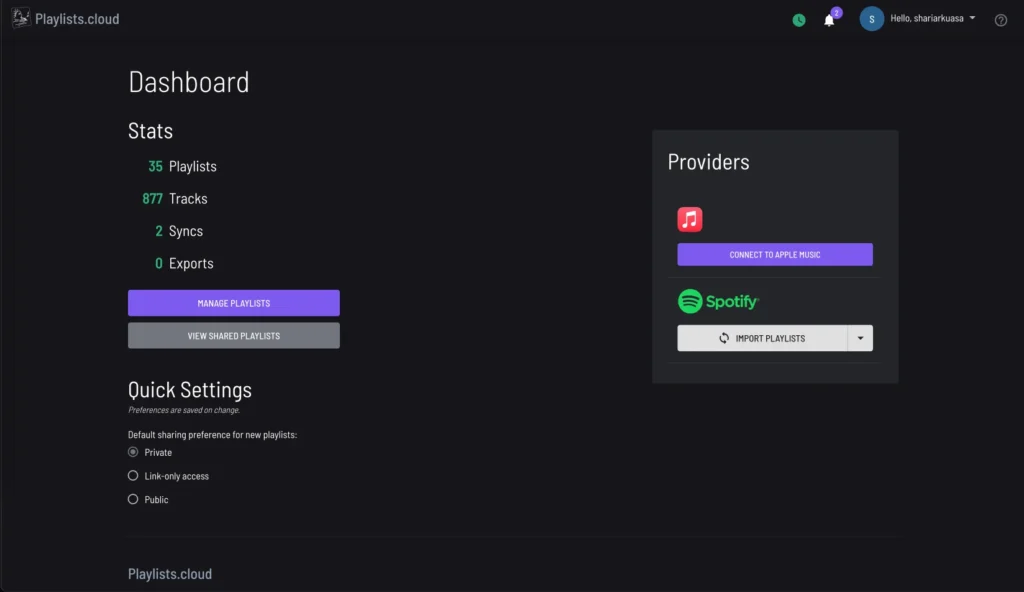
Playlists.cloud provides a simple interface for transferring individual playlists. A handy feature is that users can also upload custom playlists in CSV files, have them converted, and then export the playlists to any connected streaming services.
- Visit Playlists.cloud
- Connect your source and destination accounts
- Select the playlist you want to transfer
- Choose your destination service
- Click “Transfer” and wait for the process to complete
Note: Success rates can vary depending on how well the service matches tracks between platforms.
Premium Services: For Seamless Bulk Transfers
If you have numerous playlists to transfer or want the most accurate and hassle-free experience, premium services might be worth the investment.
1. FreeYourMusic – Comprehensive Music Transfer Tool
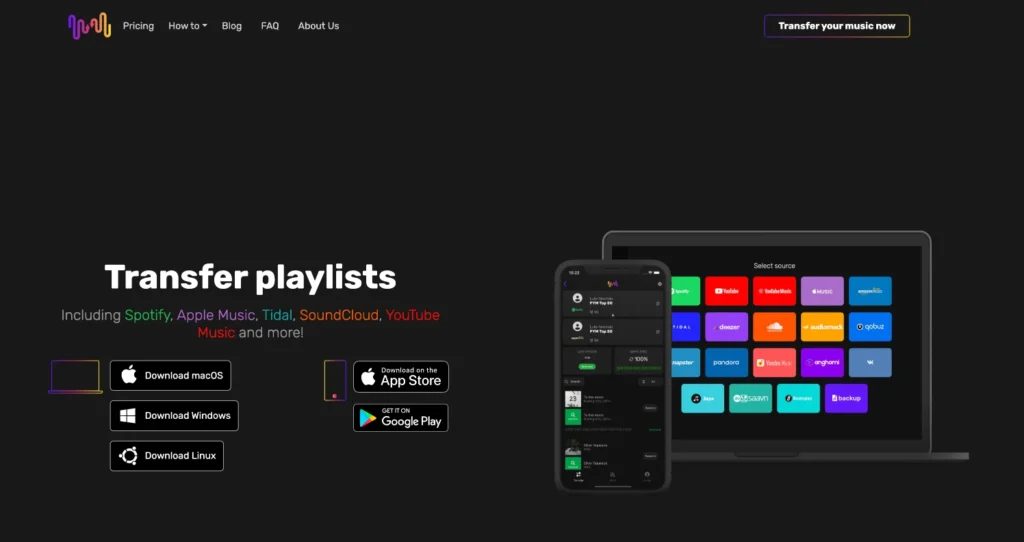
Despite its name, FreeYourMusic offers both free and premium options with the premium version providing the most features. Its offers downloadable desktop/ mobile app that transfers music between 20 streaming services, including Spotify, Apple Music, and YouTube Music. It offers a free plan for transferring one playlist (up to 100 songs) and three paid options: Basic ($14.99 one-time) for unlimited transfers, Premium ($6.66/month or $49.99/year) with auto-sync and smart links, and Lifetime ($249.99 one-time) with all Premium features.
- Download and install FreeYourMusic on your device
- Connect both your source and destination music services
- Select the playlists you want to transfer (premium allows batch transfers)
- Choose your destination platform
- Click “Begin Transfer” and let the app handle the rest
Premium Benefits: Bulk transfers, smart matching for obscure tracks, transfer of liked songs, and ongoing playlist synchronization.
2. TuneMyMusic – User-Friendly Premium Option
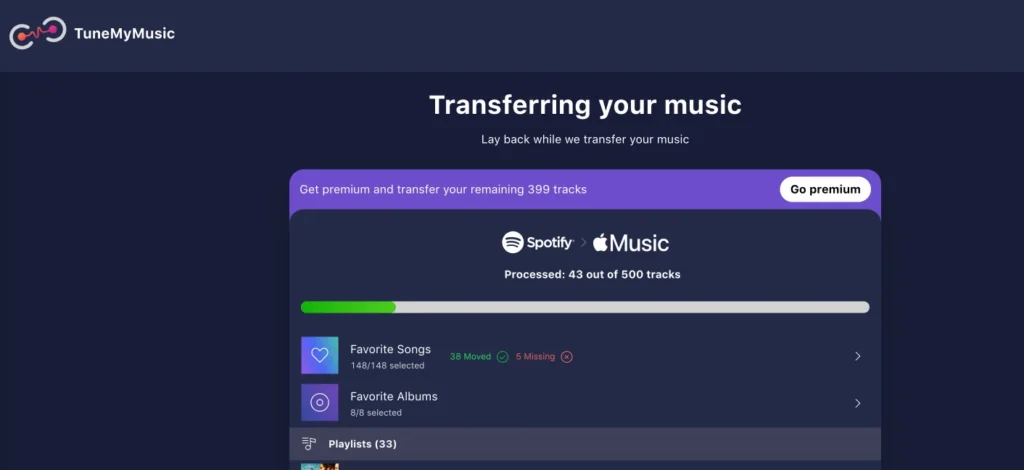
TuneMyMusic offers an intuitive interface with powerful premium features. Tune My Music free plan allows transferring up to 500 tracks and exporting playlists as TXT or CSV files. The Premium plan ($4.50/month or $24/year) adds automatic conversions and up to 20 automatic syncs.
- Go to TuneMyMusic.com
- Connect your source music platform
- Select the playlists you want to transfer
- Connect your destination platform
- Initiate the transfer process
Premium Advantage: Unlimited transfers, automatic playlist syncing, and priority customer support.
Mobile Apps: Transfer on the Go
Several mobile apps specialize in playlist transfers, offering convenient solutions for smartphone users.
1. SongShift (iOS)
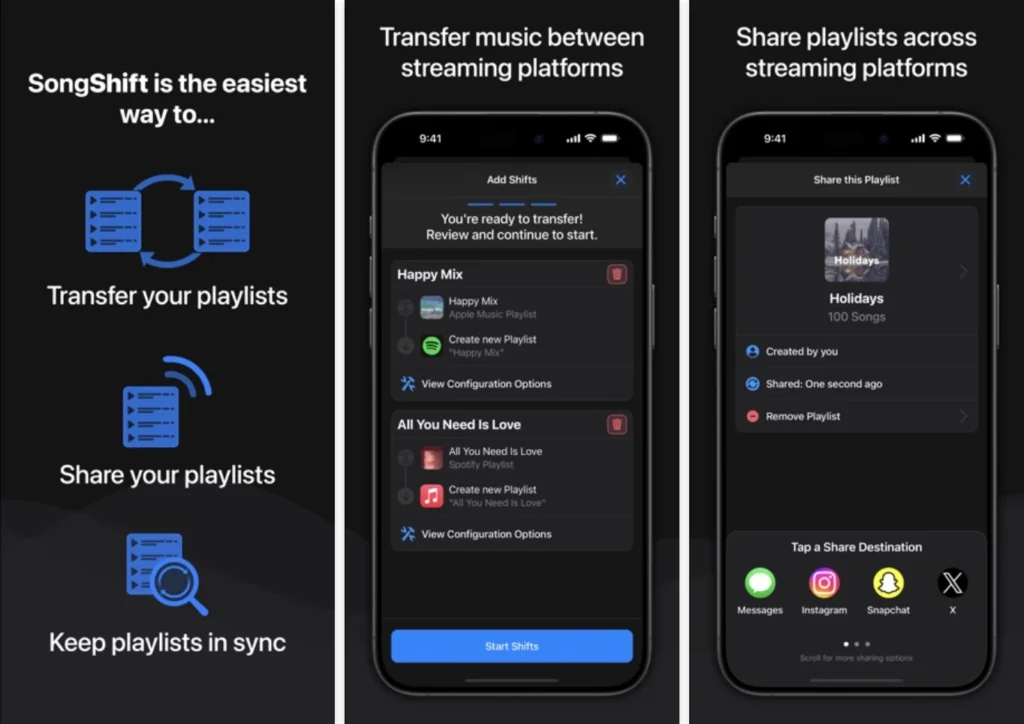
SongShift is one of the best music transfer app seamlessly transfers playlists between major platforms including Spotify, Apple Music, and Tidal with impressive accuracy. The match review feature ensures your exact songs transfer correctly, while the new SongShare functionality lets you share playlists with friends regardless of which service they use.
- Download SongShift from the App Store
- Connect your music streaming accounts
- Create a new shift (transfer)
- Select the source service and playlist
- Choose the destination service
- Review the matches and process the transfer
Tip: The free version handles basic transfers effectively, though the premium upgrade removes limitations for serious music collectors.
2. Playlist Transfer: Shift Music (iOS & Android)
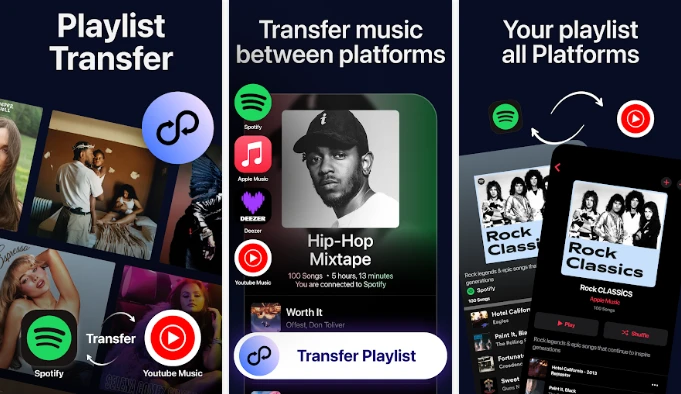
Shift Music offers a streamlined solution for migrating your music collection between popular streaming platforms. This straightforward app enables quick transfers of playlists, albums, and favorite tracks between Spotify, Apple Music, YouTube Music, and Deezer with minimal effort. The five-step process is refreshingly simple: connect accounts, select content to transfer, review matches, and confirm. While not as feature-rich as some competitors, it handles basic transfers efficiently, making it perfect for casual users looking to switch services without rebuilding their collections manually. The added ability to share playlists with friends across different platforms adds social value to an already practical utility.
- Install Playlist Transfer from the App Store or Google Play Store
- Sign in to both your source and destination accounts
- Select the playlist you want to transfer
- Choose your destination service
- Tap “Transfer” and follow the prompts
3. Music Playlist Transfer: Swapy (iOS)
Swapy transfers playlists between major streaming services with remarkable ease through its five-step process. The app’s standout feature is its smart matching algorithm that accurately identifies songs across platforms, while the match review function ensures your exact tracks transfer correctly. Beyond basic transfers, Swapy excels with its cross-platform sharing capability, allowing you to share playlists with friends regardless of their preferred service.
- Download Swapy from the App Store
- Connect your music streaming accounts
- Select the playlists to transfer
- Choose the destination service
- Tap “Transfer Now” to begin the process
Benefit: Offers smooth transfers between most major streaming services with a user-friendly interface.
Troubleshooting Common Transfer Issues
- Missing Tracks: Some songs might not transfer due to regional restrictions or availability differences between platforms. Try searching for these tracks manually on your new service.
- Duplicate Songs: Some services might add duplicate versions of songs. Review your transferred playlists and remove any duplicates.
- Transfer Delays: Large playlists can take time to transfer. Be patient and don’t close the app or browser during the process.
- Connection Issues: Ensure both your source and destination accounts are properly connected and have the necessary permissions enabled.
Conclusion
Transferring your playlists between music streaming services doesn’t have to be a painful process. Whether you choose a free web-based solution for occasional transfers, invest in a premium service for bulk migrations, or use a mobile app for on-the-go transfers, you can now easily take your carefully curated music collections with you when switching platforms.
Each method has its strengths and limitations, so choose the one that best fits your specific needs based on the number of playlists, budget, and desired features. With these tools, you’ll never have to start from scratch or lose your favorite playlists again. Did any of these methods work well for you? Or do you have another solution that worked better? Share your experience in the comments!
